How to Do Soldering on PCB in PCB Industry?
By:PCBBUY 01/10/2023 16:24
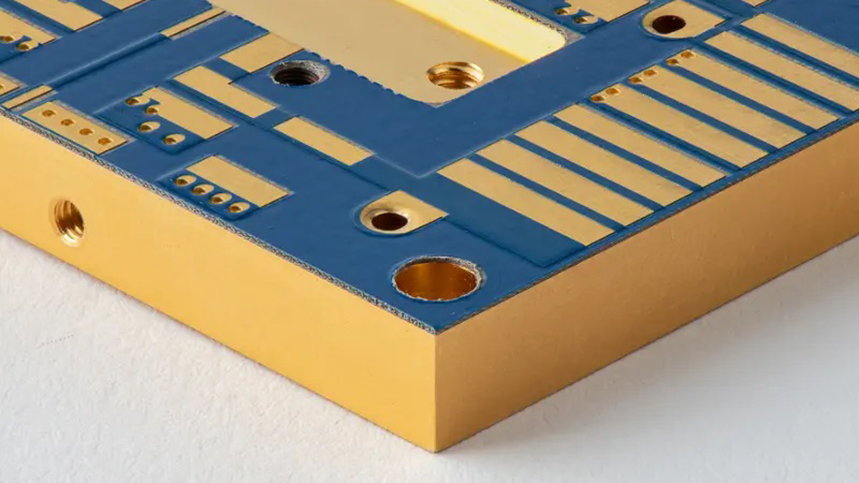
Just because there’s machinery involved in the wave-soldering process does not mean it is any less prone to errors than soldering each joint by hand. Whether you’re using a solder tank or a hand iron, you need to treat soldering like the precise science it is, carefully controlling where and what you solder.
In this passage, we will tell you everything about PCB soldering and if you are curious about it please check and read the content below for more.
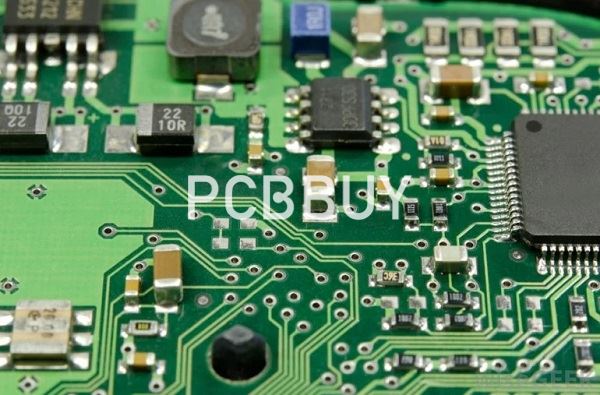
What is the basic definition of PCB?
PCB soldering is another term for the process of soldering electrical circuit boards. This type of soldering is one of the most basic techniques that anyone wishing to work with electronics and electrical circuits must learn. While there are many different ways you can complete the soldering process, the most basic explanation of the soldering process is that it’s a way of joining two small pieces together on the surface of the PCB, which stands for Printed Circuit Board. In other words, soldering is a way of connecting two or more different electrical components on your circuit board.
At the core of the soldering process, the action itself is quite simple. All you need to complete the simplest soldering job is a soldering iron, some solder and the materials that you’re soldering together. A soldering iron looks a bit like a pen and is a tool that gets extremely hot, melting the solder and using it to join your two pieces together.
While there are different types of solder, it is usually a metal alloy of lead or tin combined with brass or silver, designed to have a low melting point. As the soldering iron melts this metal, it is then used a bit like glue to stick to pieces together. As the solder metal cools, it will re-harden into one large shape that connects the two parts.
What is soldering bridge in PCB soldering?
When PCB soldering components are on a printed circuit board, you may encounter cases of solder bridging. Solder bridging takes place the moment two solder joints connect. When the two solder joints connect, they form an undesired connection that might eventually lead to short circuits on the board.
When two or more pins bridge together, you'll encounter trouble with your boards. Some of the significant causes of solder bridging include the following:
· We cannot fail to orient the same types of components in the same direction.
· We cannot fail to leave enough space between the pads and the solder mask layer.
· Designing and manufacturing printed circuit boards without paying attention to weight distribution. Such happens, especially when small components all sit on one side of the board.
How to process the PCB soldering?
Prepare Your Surface
The key to a good soldering job is to start with a clean surface. To ensure your PCB board is clean and ready for soldering, use an industrial cleaning pad to wipe the surface clear of any dust and debris. You may also use an acetone cleaner to give it an additional wipe down. Finally, you might try giving it a few blasts of compressed air, as these will remove any small particles stuck in the board.
Place the Components
Unless you’re working with an exceptionally simple circuit board, you’ll likely only be soldering one or two components at once, as opposed to doing the entire board in one session. We recommend starting with the smaller pieces and working up to the larger ones. This helps keep the board flat and balanced as the process begins, rather than weighing it down on one side with a single heavy piece.
Begin by selecting a few small components and placing them where they belong on the board. Bend the leads as you find you need to and insert the component into the holes where they belong. If you’re having trouble getting the piece to stay still once you aren’t holding it in place, try bending the leads so that they rest at a 45-degree angle along the bottom of the board.
In the act of soldering
Hold your soldering iron at the base of the handle like you would with a pencil, as to not burn yourself with the tip. The soldering iron should make contact with the leg, or lead, of a component and the trace on the PCB. Next, hold the iron tip on the desired junction/joint for a couple of seconds and feed a bit of solder onto the solder tip where it’s touching the joint. The solder should melt and flow smoothly. Only use enough solder to form a tiny volcano-shaped joint. Next, remove the solder and iron, while keeping the newly joined components still for a few seconds while the joint hardens. The joint should be cone shaped and shiny. If not, reheat and feed in more solder or desolder and try again.
Desoldering
Unless you are a well-tested robot, you’ll need to remove the solder (desolder) a joint at some point along the way. Whether it’s to reposition, remove, or add a component, there are two ways to get the job done.
The first method is to use a desoldering pump with an electrostatic discharge (ESD) nozzle. An ESD protects the ICs that can be compromised by static electricity. To begin, you’d push the spring-loaded plunger down until it locks, setting up the pump. Next, apply the iron tip and the nozzle to the joint and wait a few seconds for the solder to melt. To release the plunger and suck up the molten solder, just press the button on the desoldering pump. Remove as much solder as possible and repeat as needed. Lastly, make sure to empty the pump every once in a while by unscrewing the nozzle and shaking the little misshapen balls of solder into the trash.
Industry Category


