How to Fix PCB Solder Pads for PCB Beginners?
By:PCBBUY 04/22/2022 10:03

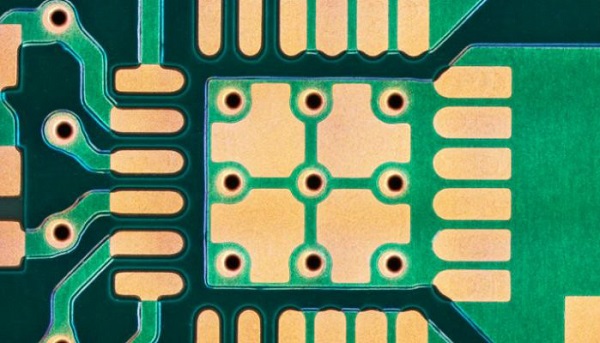
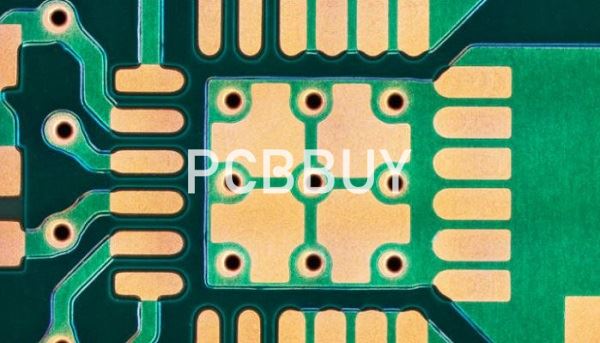
Let’s define exactly what a “pad” is. A pad, also known as a “land,” is the exposed area of metal on a circuit board that the lead of a part will be soldered to. Multiple pads are used to create the component footprint, or land pattern, on the printed circuit board.
In this passage, we are going to provide the information about repairing the methods of PCB pad. If you are curious about the PCB pad repairing, please check and read the content for more professional knowledge.

What is the calculator of PCB pad?
Many years ago PCB designers had to create their footprints using information from data sheets along with general pad and land size formulas. This was error prone and not always consistent with current data for all PCB fabrication and manufacturers. Fortunately, there is more error-free and productive options available to you these days.
One such option would be to register with a company that specializes in creating footprints for the specific CAD tools that you use. They have many years of experience doing this kind of work and can be very cost-effective in saving you the time needed for footprint research and development. Another option is to use a land pattern calculator. You can find these online and they will help you to create land patterns and footprints according to the latest available standards.
How to repair PCB pad step by step?
· Cleaning the damaged pad: Thoroughly clean the damaged area with isopropyl alcohol, and follow up by drying the area with a lint-free cloth or compressed/canned air.
· Removing the damaged pad: Use an X-Acto knife to carefully cut away the damaged pad.
· Cleaning the area around/under the damaged pad: After removing the pad, clean the area immediately around/under the pad. Be sure to thoroughly remove any damaged or burned laminate from the area.
· Removing the solder mask: Using a toothpick, remove any existing solder mask from the conductor.
· Repeat cleaning the area: Using isopropyl alcohol, conduct another thorough cleaning of the area. Follow up by drying the area with a lint free cloth or compressed/canned air.
· Tinning the conductor: Select the appropriate solder alloy to tin the conductor area where the conductor will be attached.
· Selecting the appropriate circuit frame: Using an X-Acto knife, cut out a new conductor from the appropriate circuit frame.
· Tinning the new pad/conductor: With the appropriate solder alloy, tin the pad/conductor area that will overlap the original trace. Now, mix up a small amount of epoxy resin and hardener, and apply it to the area on the PCB. You can either use open air to cure it, or you can use an oven — but be sure to follow all manufacturer guidelines.
· Soldering the new pad/trace to the conductor: Use Kapton tape to place and hold the replacement pad. Use the appropriate solder alloy to make a lap joint.
· Clamping and curing: Clamp the new pad/trace in place and cure. Once cured, remove the clamp and clean the pad/trace with isopropyl alcohol. Note: This is a good time to run a quick electrical continuity test. Once everything checks out, you may also want to envelop the edges of the new pad/trace with epoxy or solder mask to give the area increased mechanical strength.

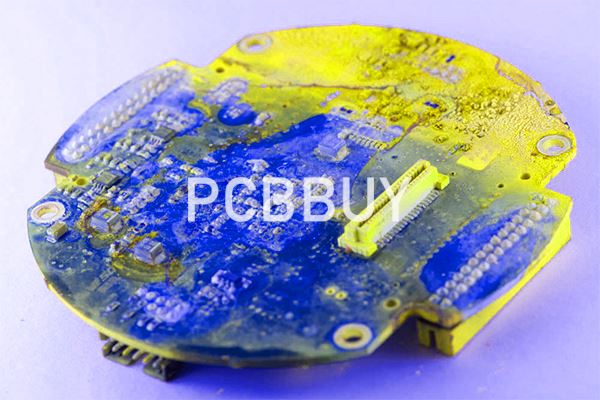
After a quick review of the damage, all of the components are removed from the battle zone. Then the cleaning begins, taking special precautions not to rip pads up. After everything’s cleaned up, things get really interesting. [RetroGameModz] starts to make their own pads from raw copper using the old pads as templates to replace the missing ones on the motherboard. After a bit of epoxy, it’s hard to tell that the pads were handmade, they fit in so well.
This epoxy trick is also used to deal with some heavily damaged traces, cool! During this repair, [RetroGameModz] used an epoxy that is heat resistant up to 315°C for 60 seconds. If you ever find any kind of epoxy on the market that is specified to be heat resistant up to more than 315°C, [RetroGameModz] would be quite happy if you could leave some info in the comment section, as they’ve found high-temperature epoxies quite difficult to source.
This goes to show that some repairs really should be done by professionals. [RetroGameModz] surely agrees, stating that “If you are not a repair technician and your motherboard has stopped working, it would be in the best of your own interest not to attempt a repair that you really cannot handle.” Good advice. But, we can never resist trying to fix things ourselves before handing things off to the more experienced. Call it a vice, or a virtue; we’ll call it fun.
Industry Category


