How to Remove Old Solder Joints from PCB Boards during Manufacturing?
By:PCBBUY 12/17/2021 09:20

To achieve an ideal solder joint, regardless of whether it’s an SMD solder joint or a through-hole solder joint, it’s necessary to use the right amount of solder, an appropriate solder iron tip heated to an accurate temperature, and a prepped PCB contact with a removed oxide layer. The importance of having good solder joints to PCB quality control is well-known, as bad joints can lead to unreliable signal transfer or tombstoning and no signal flow at all.
In this passage, we are providing the information of solder joints in PCB. If you are searching for the professional knowledge of solder joints in PCB, please check and read the content below for more information in this passage.
What are the common issues of solder joints in PCB?
· Open joints
· Incomplete solder coverage
· Solderability failure
· Floating LGA
· Component Damage
· Solder skip
· Solder balls
· Fillet lifting in through holes
· Non-Coalescence of paste
· Popcorning/cracking
· Surface corrosion and copper dendrites
· Tin whiskers
· Incomplete reflow of pin in hole
· Insulation contamination
What are the causes of solder joints in PCB?
There are a number of factors that can cause cold solder joints. These include:
· Improper melting or reflow or wetting of solder at the joints
· Disturbances such as vibrations while the solder is cooling
· Too high a process temperature causes the flux to break down prematurely
· Too low a process temperature at the solder joint - can lead to incomplete wetting
· Unmatched geometry of the components
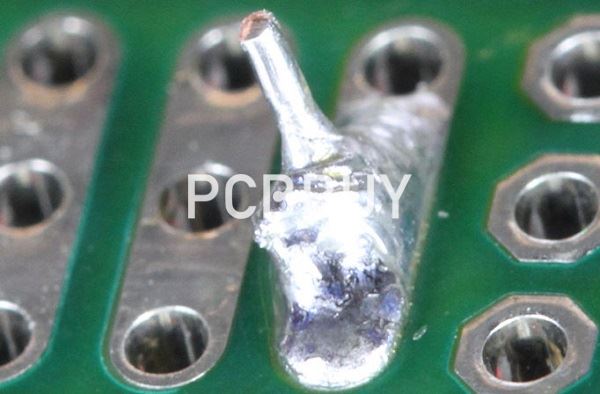
Cold solder joints can be detected by visual checking or using a magnifying glass. Primarily, a cold solder joint could look dull, whitish, and convex, or deformed, which is very different from a proper solder joint.
How to make good solder joints in PCB?
With a little practice it becomes very easy to make good solder joints. Coupled with careful inspection afterwards, virtually every solder should be good and free from problems.

It naturally helps to have the right equipment (see the page on soldering irons under the related articles title under the main menu on the left hand side of tis page). However to help a few pointers to making good solder joints can be helpful:
· Ensure that all surfaces to be soldered are clean and free from grease.
· Ensure that the items to be soldered are secured so that they will not move in the soldering process as this can result in a dry joint.
· Tin the tip of the soldering iron, wipe it clean on a damp spongue and then add a small amount of solder again - this helps the heat to flow onto the joint quickly.
· Apply the soldering iron to the joint and quickly add some solder
· Allow the solder to flow onto the joint, and just sufficient to allow a concave meniscus to form.
· Remove the soldering iron as soon as possible. If the iron is left on the joint for too long, the flux will become exhausted, the solder will oxidise and a dry solder joint will result. Typically a couple of seconds is sufficient more most solder joints.
· Allow the solder on the joint to cool and solidify before allowing any movement.
How to remove solder joints from PCB?
Sometimes you need to make a correction to your electronic circuit. Maybe you soldered a diode in the wrong direction or maybe two of your pads have accidentally been connected by some extra solder.
· Load the solder sucker by pushing down its plunger.
· Heat the solder joint until you can see it is melting.
· Place the tip of the solder sucker above the heated solder joint. Then push the sucker button to suck away the liquid solder.
· Push down the plunger again to remove solder from inside the pump. Sometimes you will need to use a solder wick to be able to remove the last bits of solder if the pump don’t catch it.
Remove without tools
If you don’t have a wick or a pump, you can still get by. This is not recommended, but might work if you’re desperate.

To remove an excess solder bridge between two pads you heat the solder joint then poke around with the tip of the iron until the bridge is gone. To remove a component from a PCB you fasten your tweezers on the component lead you want to remove, heat the solder joint and then pull and jerk the lead out of the hole when the solder melt. My favorite technique used to be the soldering pump. But I have found that when you are dealing with smaller pads and pins, a solder wick is sometimes much easier to use.
Industry Category


