How to Repair a Printed Circuit Board Step by Step?
By:PCBBUY 01/14/2022 09:41

Why bother at all with learning component-level board repairs for PCBs? Don’t we live in a throwaway culture in which it’s OK to toss electronics in the landfill at the first sign of trouble?
This is the first reason why it makes so much sense to learn everything that you can about repairing PCBs. People who have a passion for electronics, and for upcycling or getting the maximum lifespan out of something, can find a lot of satisfaction in the process of locating damaged tracks or identifying failed board components, replacing them, and restoring a PCB.
In this passage, we will provide you all the information of PCB repairing. If you are going to learn more about PCB repairing, please check and read the content below.

Why You Need to Know How to Repair Circuit Board?
For professional electronics engineers and DIY amateurs, circuit boards (PCB) are something they must face. It is necessary to understand circuits' running and how to repair circuit boards.
However, most of the time we will get more than 1 circuit board, we'll feel free to throw the broken one into the dustbin, why need to know how to repair circuit boards?
Obviously, firstly money saved, the circuit board is not a one-off product, of which most of the faults can be solved by a simple repair. While for those who are passionate about electronics, the process of "detecting to solving" brings them great psychological satisfaction. What is more important for electronics engineers is to be proficient in repair circuit boards, which will have a significant contribution to the accumulation of experience in their careers.
This is the first reason why it makes so much sense to learn everything that you can about repairing PCBs. People who have a passion for electronics, and for upcycling or getting the maximum lifespan out of something, can find a lot of satisfaction in the process of locating damaged tracks or identifying failed board components, replacing them, and restoring a PCB.
On the hobbyist as well as the professional side of things, an understanding of how PCBs function and how to restore them is essential if you want to learn how to build and maintain your own projects and systems, such as the following:
· Garage door openers
· Home theater systems
· Speed controllers for powered tools
· Televisions
· Computers

How to repair PCB step by step?
PCB problems caused by extreme physical damage, power failure and poor design will be hard to repair on your own. It would be best to have a trained and experienced professional do the repair as these kinds of problems usually call for the remodeling of the board, resoldering of the components, reballing of conductive traces and the use of specific tools.
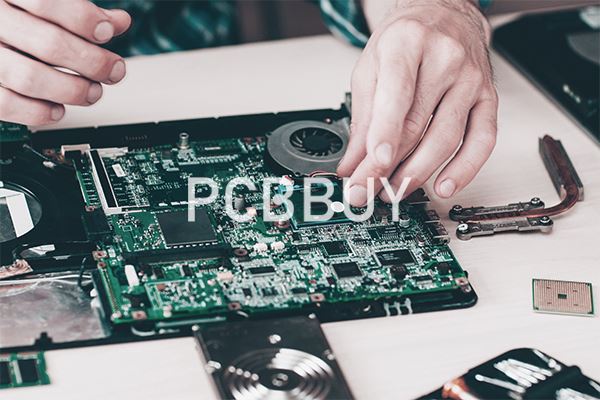
On the other hand, repairing minor component failures is something you can do on your own with the help of some tools such as a hot air gun, soldering iron and tweezers. To replace a faulty component, attach the board to a flat surface then hold a hot air gun six inches above the component you have to replace. Pull the component out with tweezers. Turn the soldering iron on and set it to 450 degrees. Put the copper braid on the pads where the component has been taken out and heat it with the soldering iron. Finally, align the leads of the new component with the pads on the board and make sure that the orientation is correct.
If the trace damage is not incredibly thin and hard to see, then you can easily repair it by simply resoldering or reballing the board with the necessary materials. By doing this, it will reconnect the broken circuit and allow the electricity to flow again.
Circuit boards are more complicated to repair today than even a few years ago. Manufacturing mistakes and in-service component failures have become commonplace. Older circuit boards can malfunction due to components that fail — notably electrolytic capacitors — but new ones (assuming the layout is correct) might not work due to manufacturing errors, parts poorly or incorrectly soldered, solder bridges, etc.

While simple soldering and component changes may be suitable for less complex fixes, some repairs may require more expert approaches to find fault causes. Repairing complete PCB assemblies can seem intimidating, but a methodical approach helps in finding and fixing problems quickly.
It’s wise to get a report from the end-user about how the board failed. Did it ever work correctly? Did they just run a software update and that killed it? Can you see any obvious fault clues such as broken wires or tracks?
Usually, it’s wise to refrain from powering up a damaged PCB at first. If, for instance, a simple blown fuse is suspected, the reason for the issue must be determined rather than just replacing the fuse (with a bigger one!). Short circuits or overloads usually leave tell-tale signs.
Industry Category


