How to make drone PCB?
By:PCBBUY 06/29/2021 17:08

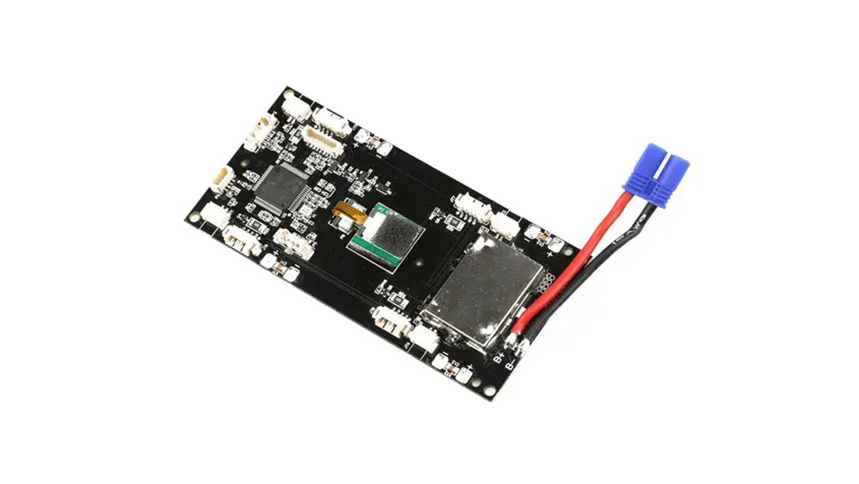
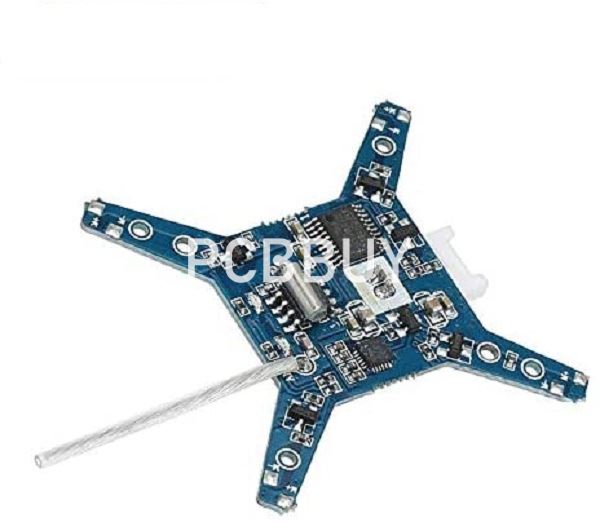
A drone board is a circuit board that controls the RPM of motors according to the input. Recent years, drone PCB has advanced a lot with the technological development. All the companies are using the high-quality drone boards of the drone manufacturing. In this passage, we will lead you to learn the knowledge of drone PCB, and how to make drone PCB. Check and read the content below for more information.

What are the features of drone PCB?
A drone board has several sensors for perceiving the motion of the device and the handler commands. With this information, it can regulate the speed of the engines and make the drone move appropriately. These are the main features of a drone board.
Firmware
You can fix various firmware on your drone boards to achieve different purposes and specializations. For instance, iNav is manufactured with GPS applications in mind, while KISS is suitable for racing. Section four of this guide contains a detailed discussion of the various drone board firmware for use.
Processor
The Drone board processor is also known as a microcontroller unit (MCU). It will help if you have it to keep your firmware codes and solve complicated calculations. There are five primary types of drone board processors based on the processing power and memory size: F1, F3, F4, F7, and H7.
UART
UART is an abbreviation for Universal Asynchronous Receiver/Transmitter. The hardware serial interface enables designers to link external parts, like a Telemetry, to the drone boards. It is advantageous to have more than one UART port, but your drone board's design dictates this.
Layout
The drone board layout houses the solder pads. Many people ignore the significance of the design, but the drone boards with pads positioned on the edges are more potent than those containing all the pillows at one point.
BlackBox
You need a BlackBox to tune and troubleshoot your drone.

What you need to build a drone?
Technology has simplified the process of making drones like never before. Currently, there are drone kits on offer that you can acquire from your local shop. Whether you want to build from an assembled drone kit or scratch, these are the tools you need to navigate through the drone building process smoothly.
The Frame
Your drone requires a frame to host all the other parts. You have two options concerning a frame for your UAV. You can create it from scratch or purchase it from your nearest store. To learn more about the different frames, check out this article about the best drone frames.
Building a frame from scratch is not so challenging, but you have to learn some engineering basics and be aware of the right materials to use. For example, you can use a light metal, plastic, or wood slats. If you settle for a wooded frame, use a wood board that is 2.5 cm thick.
Motors
Your drone uses motors to rotate the propellers. A quadcopter uses four motors, while an octocopter needs eight motors to function. It is recommendable to use brushless motors as they have lighter batteries. For DIY drone fans who lack comprehensive engineering knowledge, buy your motors from a trusted dealer.

Since motors will define how your drone will function, choose the appropriate motors for your product's success. It would be best if you consider the length they cover, RPM, and power consumption.
Electronic Speed Controls (ESC)
An ESC is an electronic circuit that modifies a motor's speed and direction. It can also act as a dynamic brake. An electronic speed controller purposely converts DC battery power into three-phase AC to power brushless motors. Therefore, if you use brushless motors, you require an ESC, but you do not need them when working with brushed motors.
You should connect your electronic speed controllers directly to the power source using a wiring harness or power distribution board. They have a built-in battery eliminator circuit (BEC) that facilitates other parts' powering, such as the flight control board and radio receiver.
Connectors
You need the 3.5 mm connectors to hold the motors and ESCs, and the 4.5 mm connectors for your power distribution board.
Flight Controller
The flight control board acts as the 'brain' of a drone. It comprises sensors, like gyroscopes and accelerometers, which determine the speed of rotation of the motors. Flight controls come in all sizes and shapes.
How to make drone PCB?
We will provide you the steps of drone PCB manufacturing:
Step 1
Chop the film into a piece that is slightly bigger than the circuit. Since we will require more transparency later, avoid making big sizes. Besides, do not chop it to the same size as the circuit because we will stick it to a board and require more space to include the tape.
Step 2
Put the cut piece on the PCB and sticky tape on it. Pull the work well to compress the space between it and the PCB.
Step 3
Mark the region where you do not require a solder mask- points where we should solder the board. The show is so sensitive to Ultra Violet rays as it hardens the paint. For points where we will use solder, the color should set to get rid of it quickly. However, this method is not sufficient since a permanent marker fails to adequately block the Ultra Violet rays.
Alternatively, you can design the paste points from the PCB and copy it to the chopped board using an inkjet machine.
Step 4
After marking all the points to solder, take away the board and chop another film of similar measurements.
Step 5
Paste some solder paste on the board using a stick. Place the cut film and mount it to the remaining frame board. Use a ruler to distribute the mask uniformly.
Step 6
Put the labeled piece on the upper side and pair up all plugs with those of the PCB.
Step 7
Take it outside, where there are plenty of Ultra Violet rays. You can either use sunlight a UV lamp as your source of Ultra Violet rays.
Leave it for around four to five minutes based on the depth of your paste. The deeper the paste, the more you should leave it to dry.
Step 8
Gently take away the transparent film to avoid damages.
Step 9
Use a soft paper or piece of cloth and alcohol to remove filth from the surfaces.
Step 10
Use a knife to scratch any hardened solder paste.
Step 11
Smear some flux on the pad to clean it. Note that this step is not compulsory since soldering wires have changed.
Step 12
Use a soldering iron to solder the edge and use it on the pads.
Step 13
Scrub it with sandpaper to smoothen the points and offer the mask a lusterless appearance.
Up to this point, your drone circuit board is ready for use. But before that, solder all the parts to prevent oxidation.
Industry Category


