What Are the Instruction of Desolder PCB?
By:PCBBUY 11/07/2023 14:46

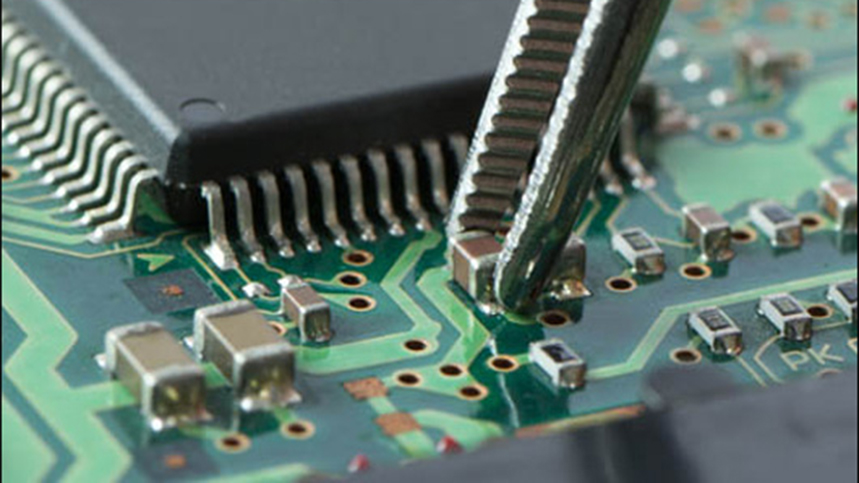
As you place a solder wick over the bonded joint, heat it with a soldering iron. The braid’s flux will activate, while the solder melts, which attracts the solder up into the braided wires. If you are going to learn the methods of desolder of PCB components, please check and read the content below for more information.

Keep Your Soldering Iron Tip Clean and Tinned For Effective Heat Conduction
This might seem like a no-brainer, but it’s often overlooked and is critical for efficient desoldering. Soldering iron tips covered with burnt flux and oxidation will not wet (accept solder) and will conduct heat poorly. A clean and tinned soldering tip conducts heat through the desoldering braid better and starts the wicking action faster.
Before starting, tin the soldering tip by adding fresh wire solder to it.
If the soldering iron tip isn’t responding to the extra solder, revive dirty tips by using a tip cleaner, often referred to as “tip tinner”. Plato brand Tip Tinner (part #TT-95) is a halide-free, solid paste which provides quick and safe re-tinning and cleaning of oxidized tips. Roll the hot tip in the compound until the bright tinning surrounds the end of the tip.
Clean any residual compound from the tip by applying wire solder and then wiping it on a damp cellulose sponge or brass wire tip cleaner.
Finally, apply solder to the tip again to protect it from oxidation.
Whenever your soldering iron has sat for any length of time or after you are finished soldering “tin” the soldering tip with fresh solder to prevent oxidation.
Clip Used Desoldering Wick after Every Use
The temptation is to desolder an area and keep moving up the spool of braid. However, it’s best to work towards the end of the braid to isolate the heat. Once the desoldering wick is brought up to soldering temperature, the flux has been fully activated, so that part will not draw more solder. A long strand of used braid only acts as a heat sink, slowing down your process.

Avoid the #1 Rookie Mistake: Lift Up Iron and Braid at The Same Time
This is by far the most common error committed by inexperienced operators. After removing solder, make sure to lift up the iron and braid at the same time. Otherwise, you will solder the braid to the contact and risk lifting the pad.
What Are the Instruction of Desolder PCB?
1 Hold the end of the desoldering braid over the first pad you want to desolder.
2 Press the soldering iron onto the braid so that it is sandwiched between the iron and the solder pad. The iron heats up the braid, melting the solder underneath it. The braid soaks up the molten solder through capillary action.
3 Remove the braid and iron from the pad together, and then remove the iron from the braid. Solder cools very quickly, so if you remove the iron first, the solder will set, bonding the braid to the board. If that happens, don't panic, and don't pull on the braid. That's an easy way to destroy the board. Just reapply the iron. Melt the solder and remove the braid.
4 Clip off the used portion of the desoldering braid. Repeat for the other pads you want to desolder.
How to desolder an element from a PCB?
Whenever you have to desolder something the first question you need to ask yourself is: do I need the component intact?

Because if you removing damaged component then often the easiest way is to separate its pins first. For most but the smallest SMD components this can be done with wire cutter. The plastic connector shroud can be broken or melted away etc. Once you've done that removing pins one-by-one becomes trivial.
If you do need the component, see if you can distribute heat to all pins simultaneously. For 2-5 pins this usually can be done by adding solder to the pads, making a blob of molten solder. For more pins you can cut a piece of heavy gauge copper wire and put it along the pads, then cover everything in solder and keep heating until all pins got loose.
How Do You Use a Desolder Wick?
As you place a solder wick over the bonded joint, heat it with a soldering iron. The braid’s flux will activate, while the solder melts, which attracts the solder up into the braided wires. You can desolder a circuit board with a wick in a few simple steps.
· Unroll some wick and add some flux (if it’s not already on there or if you want more).
· Put the end of the wick on the solder joint.
· Press the hot iron on top of the wick. Hold it in place while the wick and solder heat up.
· Lift the wick and the iron while the solder is still melted.
· Cut off the used wick as soon as you’re done.
· Repeat until you’ve desoldered all the joints of the electronic component.
· Using pliers, remove the part from the motherboard.
· Pros and Cons of the Desolder Wick Method
· The desolder wick method is one of the easiest ways to desolder, and you don’t need to be a PCB expert in using it. It’s affordable and only requires a few tools. However, the desolder wick method isn’t without drawbacks.
Industry Category


