What Are the Main Types of LED PCB Design?
By:PCBBUY 05/20/2023 14:17

For an LED PCB, you need to cater to two main aspects of the design. First, it is important to ensure that the LED sits within the circuit board’s drilled holes. Ensure that the holes are part of the design. Second, you need to focus on the distance between the holes.
In this passage, we will tell you everything about LED PCB design and PCB manufacturing. If you are curious about LED PCB, please and check the read the content below.
What are the types of LED PCB?
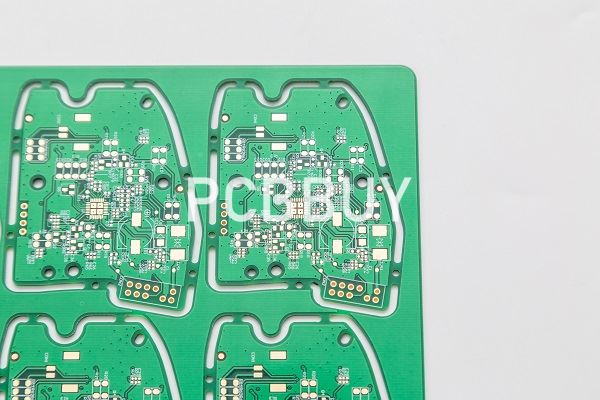
There are different types of LED PCBs. LED PCB Board types to vary on the basis of manufacturing specifications, type of material and usage. Here are the most popular types of LED PCBs including:
Flexible LED PCB
The name is quite obvious. It is comprised of materials that can twist in different directions, and flex. It contains layers including multilayer, double and single formats. It is a little bit costly to print a circuit on the flexible material. The flexible LED PCB Board has more advantages as compared to a rigid LED Printed Circuit Board.
Rigid LED PCB
As the name suggests, it is stiff and totally opposite to the flexible one. The solid material is used for its manufacturing. You can find it on the computer. It is also available in different layers.
Multi-Layer LED PCB
This type of LED PCB Board contains more than two layers. Copper plated holes most often interconnect all the layers. It contains 4 to 50 conductive material layers. A special type of glue connects multiple layers and a special type of insulator is used in between different layers. The insulator protects them from an excessive amount of heat.

What are the applications of LED PCB?
PCB LED lights have excellent energy efficiency, low cost and maximum design flexibility, so it can incorporated into numerous lighting applications.
Computer
LED displays and indicators are more and more popular in the computer applications. And aluminum PCB LEDs are an ideal solution because of the heat sensitivity of computer machinery. Expect for LED applications, aluminum PCBs are also used for the computer parts.
Medical
Lighting tools used in surgeries and medical examinations commonly use high-powered LED lights, and these LED lights often use aluminum PCBs, which is primarily because of the durability and heat transfer capabilities of aluminum PCB LEDs. Expect for lighting tools, medical scanning technology often uses aluminum PCBs as well.
Automotive
Aluminum PCB LEDs also are used for cars on indicators, brake lights and in headlights, as well as other applications. There are some factors making the aluminum PCBs be ideal within the automotive industry, such as the durability and competitive prices.
What is the process of LED PCB design?
Design the PCB with computer-aided design software. The exact design will depend upon the application in mind. For the the PCB to support an LED, two aspects of the design are important. First, the LED will need to sit within holes drilled in the circuit board. You must include these holes in the design. Second, the holes will have to sit close to positive and negative terminals to power the LED.

Save the design as a Gerber file. This is the industry standard for PCB manufacturers. The Gerber file should have a number of layers. Layer 0 should show the dimensions of the board outline. Layer 1 should have the pattern of copper wires. Layer 2 should have the design of the drilled holes.
Create a text file containing information about the board dimensions and layer contents. Email the Gerber file and text file to a PCB manufacturer. Purchase an LED device with the correct specifications. Take particular note of the required voltage and ensure this matches the power supply for the PCB.
Build the PCB. Mount the LED electrodes within the PCB and solder them to the positive and negative voltage terminals. Its important to connect the terminals the correct way around. Connect the power supply to the voltage rails. Turn on the power supply and set the correct voltage. The PCB should now be powered and the LED will light up.
How to avoid the defects of LED PCB?
The LED PCB assembly may suffer from gradual performance degradation, and it is challenging to identify its root cause. Your custom LED PCB may be subject to trace degradation, oxidation, incorrect copper weight, condensation, and solder flux corrosion.

If you inconsistently apply solder paste, it can lead to short or open circuits in the LED PCB. If you use it in limited quantity, the solder joints will be more prone to rupture. If you haphazardly use it in excess, it may connect with the nearby connections and cause short circuits.
In this case, you will burn not only the LED but also the sensitive nearby electrical components. You should make sure that the LED PCB does not get environmental contamination. Furthermore, you may also use electrical testing to find the location of the short and open circuits.
Industry Category


